|
|
 Part II of the Viper story.....Casting a silicone mold is actually a quite easy,......be it a little bit messy job. Part II of the Viper story.....Casting a silicone mold is actually a quite easy,......be it a little bit messy job.
For the average 1/24 GT you'll need � 600gr of silicone, 30gr hardner, some sheetplastic, tamiya putty or miliput and some mdf to make a box to cast the silicon in. Oh... and some Maskol, very handy stuff!
[B]Making the Silicone Mold[/B]
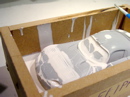
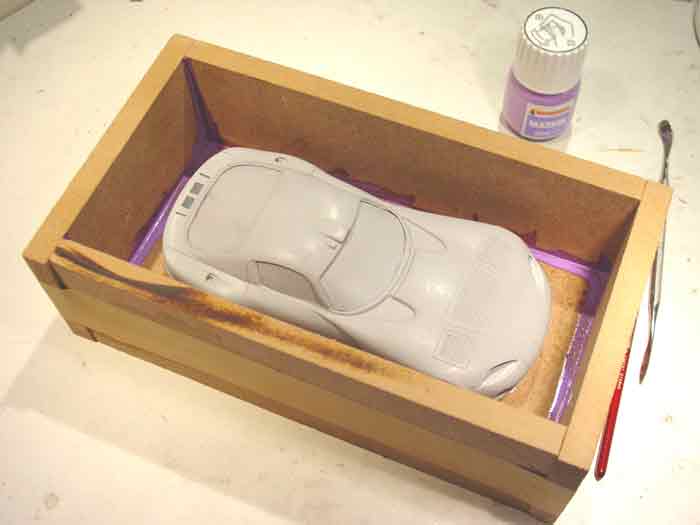
As the master will be completely submerged in the silicon you need to close all openings in the body. I used sheetplastic and milliput to close off the wheel arches. The Maskol was used to completely seal the body and later also to seal the mdf box. Miliput rolled into a string is used to temporarely "glue" the master on the "bottom" of the box. This is absolutely nessecary because otherwise the master will start to "float" in the silicone.
As you can see I used the milliput to raise the master 5-10 mm above the floor. Its a matter of thinking upside down when you make a mold. Mounted this way it will give you a better definition of where the underside of the body stops.
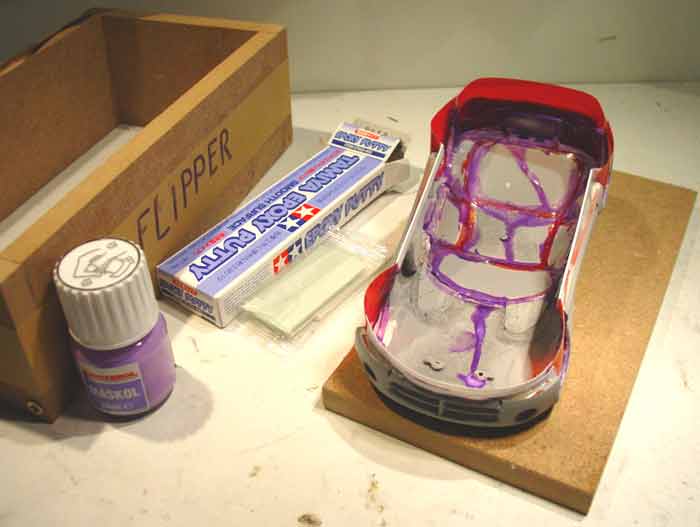
Here the master sits inside the assembled "Box", I used 10mm thick mdf for my box and screwed all the panels together so it would be easy to (dis)assemble time after time. Depending on the dimensions of your master, the box should be � 2cm oversized. If the box is too "tight" the walls of the silicon mold will become too thin too keep their proper shape. If the box is too big you need much more silicon...which is a waste of money!
In the pic you can see the maskol used to seal the box panels. Needless to say that it is most important that the box is totally square. As you "flip" the mould "upside down" before you start laminating the new body. If the Box is not completely square, you might distort the silicone mold, and all copies will have the same distorsion.
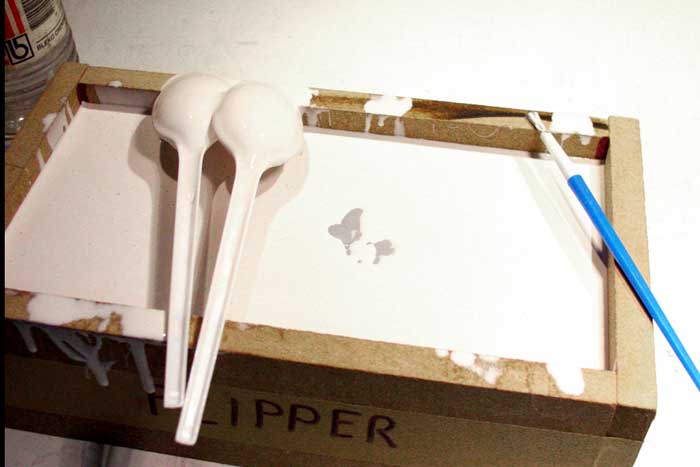
Next step is to mix the silicone. Here you need an accurate scale, a lot of disposable plastic cups, spoons and some latex free gloves.
Why latex free?...well because some silicones can react to latex gloves and will refuse to harden..... better be safe than sorry!
As the silicone I used needs only 5% harder, mixing it evenly it is crucial, so I usually prepare several small portions off 150gr instead of mixing the whole lot in one go. Stirring the silicone without creating to much air bubbles takes a bit of practice, obviously a vacuumchamber would help here, but I (still) haven't got one so I use another trick. I usually place the cups with silicone on a "vibrating platform". Sounds complicated but actually its nothing more than a badly balanced electromotor glued into a plastic box. Select a rpm where the motor vibrates most and put the cups onto the box. You'll see how most of the air bubbles are "vibrated to the surface ;)
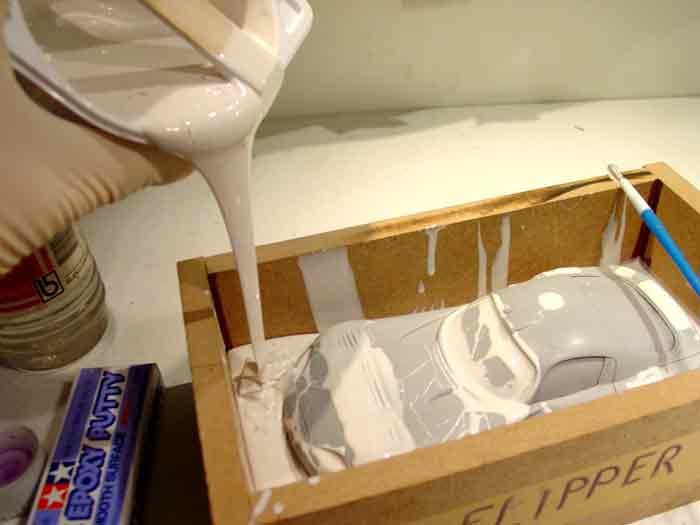
So with the silicone mixed and "vibrated" its time to pour. Care should be taken when you start pouring the silicone, your main concern will be to prevent air pockets. Pour slowly in one corner of the box so the silicon can flow slowly around the master pushing away the air as the level rises.
Brushing the tricky areas like the headlamps and grille with silicone before pouring also helps to iliminate airpockets.
And just as the roof goes under..... I ran out of silicone. Should this happen, no problem...just mix some more and continue pouring!
If you're completely out of silicone and the shops are closed!!! Just let the silicone set (takes � 12- 16hrs)which should be more than enough time to buy some new. Mix the last part and then continue pouring on top of the hardened silicon!
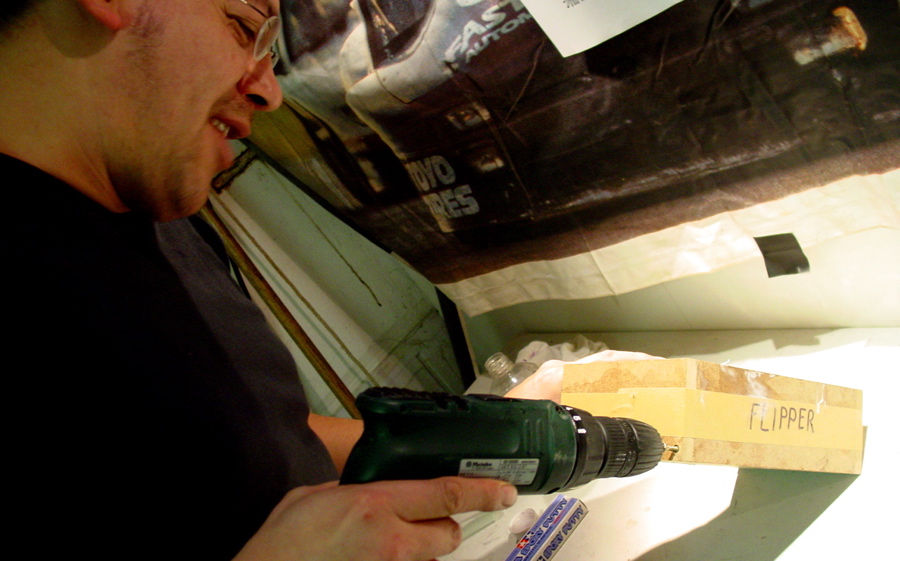
After 16hrs (should actually be more than 24, but I was running out of time) I started to open the casting box...
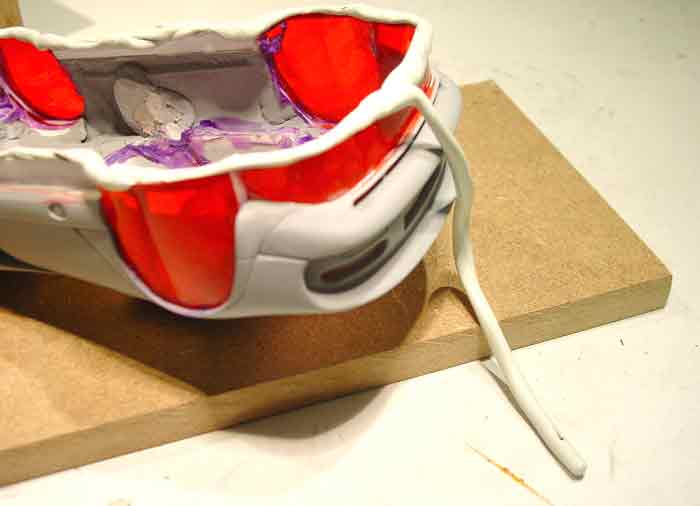
Removing the side panels was easy, but as the master was glued to the floor panel................this was were things got a bit hairy.
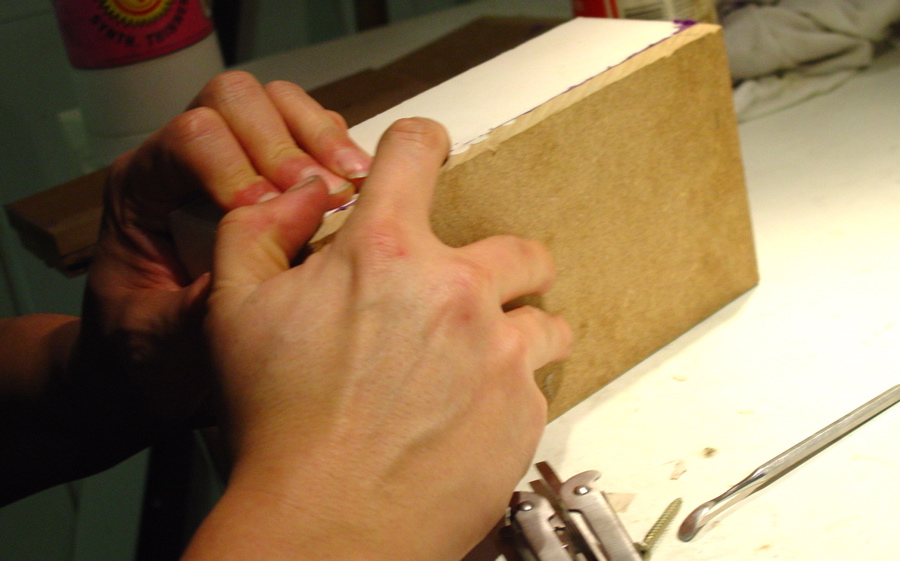
As I applied a bit more force, a sudden "plop" and the silicone came free of the floor panel.....
Unfortunately with the master still in the mold. Dispite my carefull attempts to completely seal the master with maskol, there seemed to have been spots I overlooked.
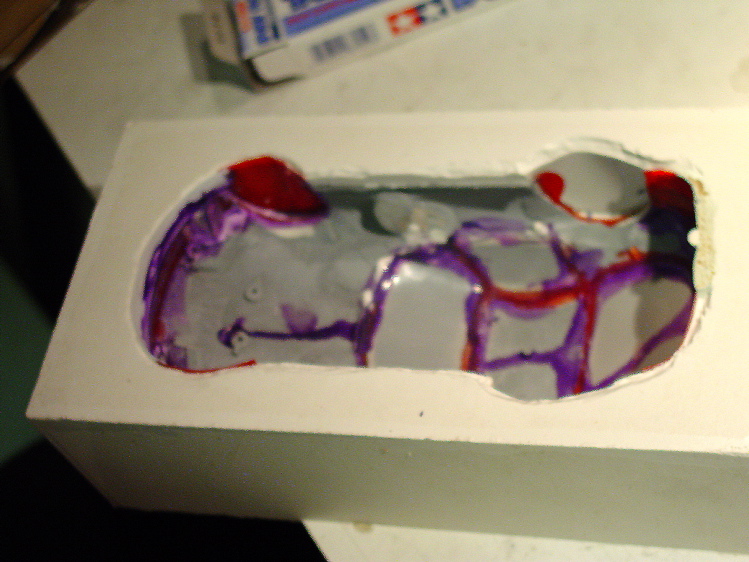
At several places the silicone had seeped inside the master, keeping it firmly fixed in the mold. (sorry for the fuzzy image...I must have been quite shaken as I took the shot ;)
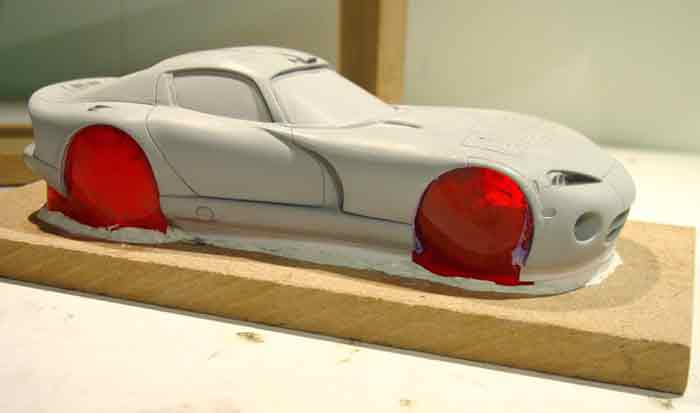
Using a scalpel to cut away the offending silicone I was soon able to release the Master from the mold and reveal the bare silicone in all its beauty...
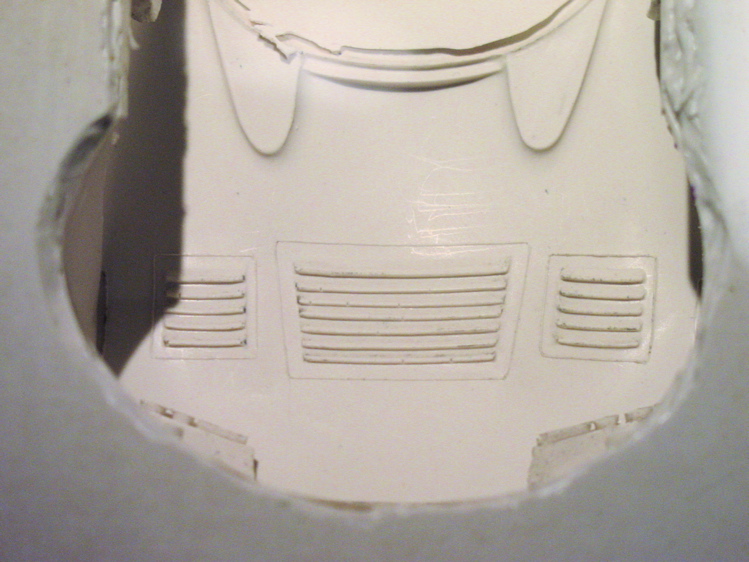
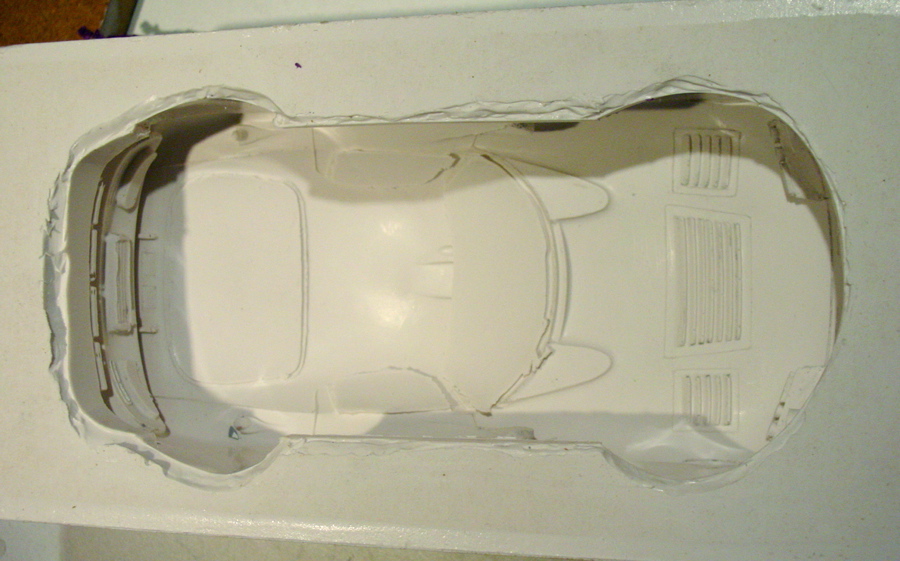
All the hard work of the past couple of weeks wre now finely cast in silicone.
Time to start laminating.
|
|


